Advanced Search (Modernized)
The modernized Advanced Search offers a new look and enhanced functionality to improve your search experience. This feature is available on Shimbonda for testing, but if you want to enable it in your production instance, contact your CSM.
Configuring the Modernized Advanced Search
- Navigate to the Administration > Settings and open the Search section.
-
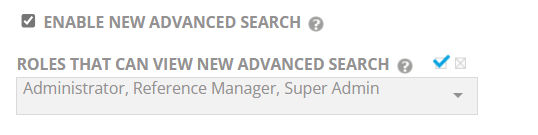
Scroll to the end of the section and select the Enable the New Advanced Search checkbox.
-
Select the role(s) that can view the new advanced search page from the drop-down menu.
-
Click Save to save your selection.
Note: Once you enable this feature, the legacy search icon
 will disappear from left hand navigation panel. Features like Saved/Recommended Search management & search cloud pods can now be accessed in the Activity Hub.
Searching Using Modernized Advanced Search
- Navigate to the Advanced Search page to find customers or assets that match various search parameters.
- Select the Customers, Collateral or Asset, or Citations tab.
- (Optional) Enter a value into the Keywords search box.
- Exact Phrase: Enter text surrounded by quotation marks and the search will match only on an exact phrase.
- “OR” Search: Enter 2 or more words not surrounded by quotation marks and the search will match on each word independently, assessing record relevancy based on total number of words that are matched. The following words will be ignored in an "OR" search: $, about, all, also, an, and, any, are, as at, both, but, by, came, can, come, could, did, do, does, each, else, for, from, get, got, had, has, have, he, her, here, him, his, how, if, in, into, its, just, like, many, me, might, much, must, my, never, no, now, of, on, only, or, other, our, out, said, same, see, should, since, so, still, such, take, than, that, the, their, them, then, there, these, they, this, those, to, too, up, use, very, want, was, way, we, well, were, what, when, where, which, while, who, will, with, would, you, your.
Note: The And/Or option indicates whether you would like to include any or all the selected search criteria. When And is selected, the search will include all of the selected criteria. When Or is selected, the search will include any of the selected criteria.
- (Optional) For each item you want to include in the search, click the drop-down arrow in each field and select the item(s) in the list. When selected, a check mark appears next to the item; to clear the item, select it again.
Note: Customer Search field is accessible only to Admins and Reference Managers. This allows admins to identify which customers are currently visible to their users.
- Click the Search button or press Enter to generate a list of customers and assets that match your search criteria.
- Click the Clear button to clear all search criteria. Click the Show All button to show all available results regardless of search criteria.


Note: Clicking Search after entering specific search fields takes you to the Best Match tab, which displays the most relevant matches. However, clicking Show All takes you to the All Results tab and disables the Best Match tab.
Viewing Search Results
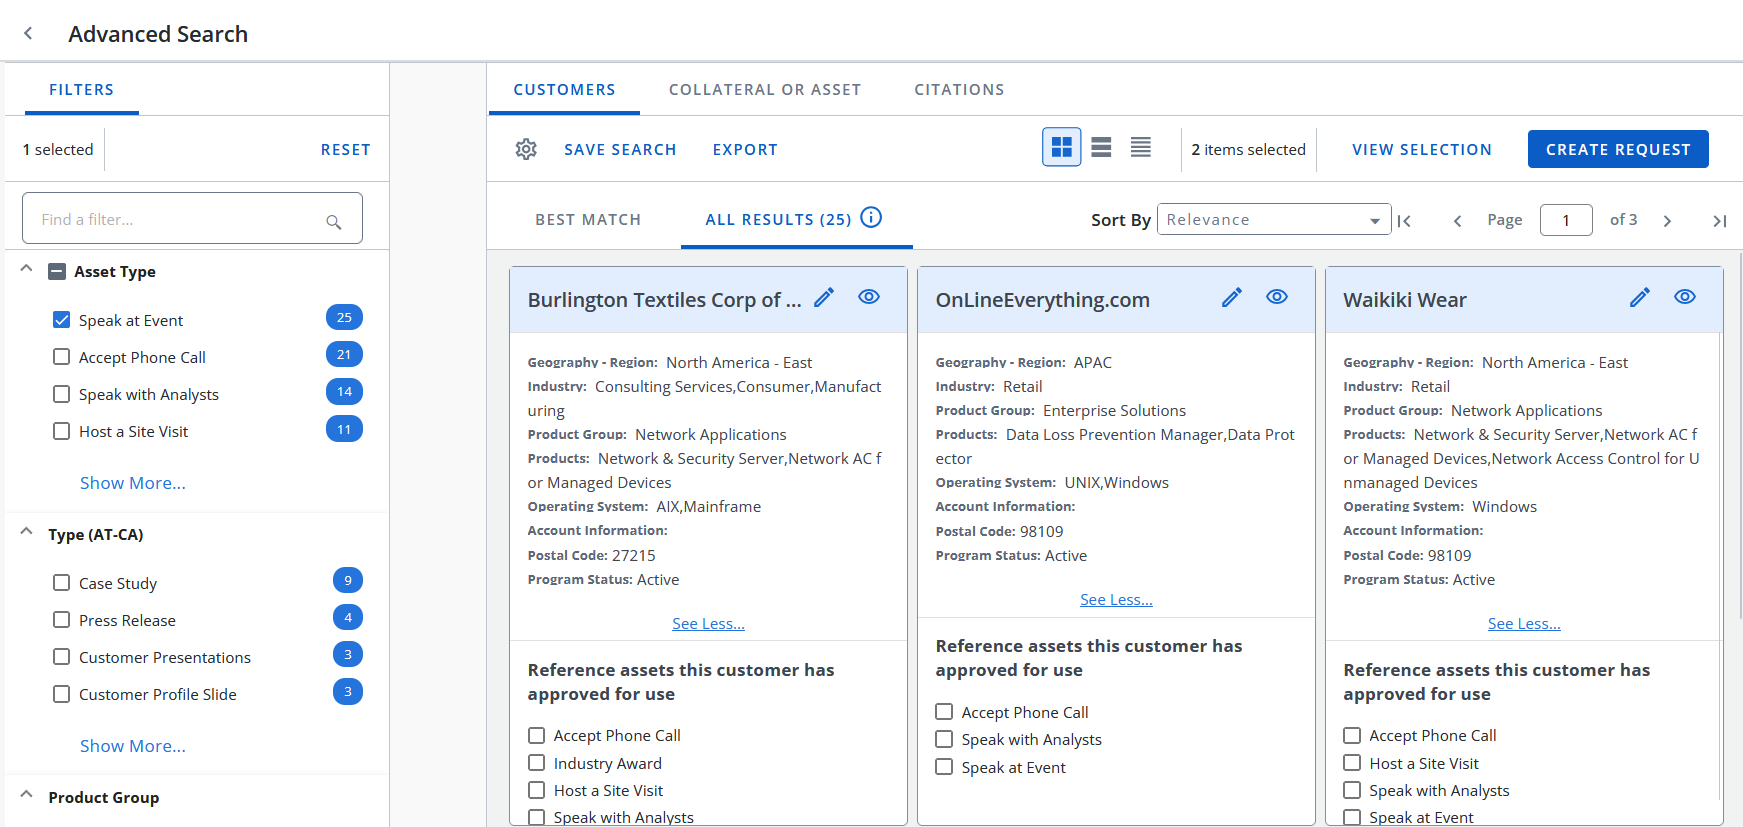
After conducting your search, you will be directed to the Search Results page.
- Once you have completed your search, select the Customers tab to view your results.
- To narrow your search results further, select the checkbox of additional filters, such as Asset, Product Group, Industry, etc., from the left-hand panel. Click Reset to clear selected filters.
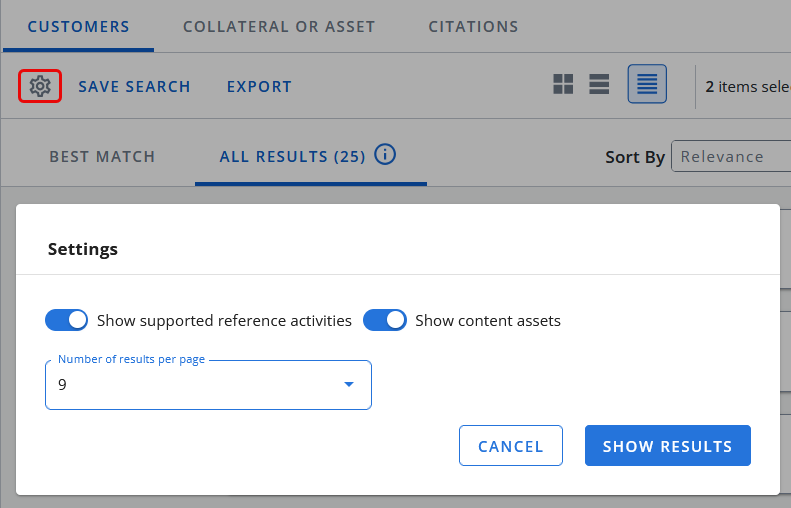
- To change your search preferences, click the Settings
 icon.
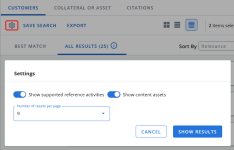
icon. - Update any of the following options:
- Show Supported Reference Activities: Turn on the toggle switch to display the reference activities that the reference contact(s) are willing to participate in.
- Show Content Assets: Turn on the toggle switch to display content assets tied to the customer(s).
- Number of Results Per Page: Select how many results will display per search results page.
- Click Show Results to save your preferences. The system will remember your preferences the next time you perform a search.
- Update any of the following options:
- Select one of the following sorting options from the Sort By drop-down menu: Most Recent, Relevance, or Customer Name. For more information on how "Relevance" sorting works, see Relevant Search: Order of Customer Search Results.
-
To determine the amount of details displayed on the search results page, click the truncated, expanded, or name only icons
 respectively. Your selection will be highlighted in blue.


Note:
-
The details that are displayed on the truncated cards can be configured within the Screens page by using the "Search Results - Customers - Truncated Cards" option from the drop-down menu.
-
The details that are displayed on the expanded view can be configured within the Screens page by using the "Search Results - Customers - Expanded" option from the drop-down menu.
-
- Once you are finished setting the search results, click any of the following links:
- Save Search: Saves your search for future use. For more information, see Saving & Sharing a Search.
- Export: Generates a downloadable report using your search results in the format of your choosing. This is only available for Reference Managers. For more information on Export functionality, see Administration.
- Once you have located your desired search result, perform any of the following actions:
- Click Details to view any additional customer details. You can also view customer details as a PDF.
- Click Edit to update any information found on the customer record. For more information on editing customer information, see Editing Customer Information.
Note: The "Allow Non-Reference Manager Record Review" Administration setting must be enabled for users with roles other than Admin or Reference Manager to edit the record.
Note: When a Portal or Sales User submits updates using the Edit functionality, an email is sent to the Reference Manager. These email alerts contain links to the Record Review, where Reference Managers can approve or deny any edits made to the customer record. For more information, see Record Review.
-
Select the checkboxes of one or more reference assets from your results to enable the View Selection and Create Request button. You can perform the following actions:
- View Selection: Displays the list of all the selected reference assets to review before you create a request. If you want to remove any of the assets from the selection, click the delete
 icon.
icon. - Create Request: Begins the request process. For more information on requests, see Requesting References .
- View Selection: Displays the list of all the selected reference assets to review before you create a request. If you want to remove any of the assets from the selection, click the delete
Note: The filters can be configured within the Screens page by using the "Filters - Customer - Reference Manager" option from the drop-down menu.


Note: Any customer or customer information displaying an asterisk* will not be visible to the sales users.
Relevant Search: Order of Customer Search Results
The following factors can be set to determine the order in which your customer search results will appear. These settings are defined and managed by your company's System Administrator and Upland RO Innovation.
- Does the searched keyword appear in?
- Select Configured fields: These are client specific fields configured in the system.
- Customer Name
- Implementation
- Usage Details
- Does the customer record?
- Have Participation Assets
- Have Content Assets
- How complete is the customer search results expanded view filled out (e.g. records populated vs. not populated with values)?
- Implementation Create Date: How recently was the implementation record created?
- Best Match Threshold (e.g. Keyword Search and Non-Keyword Search)
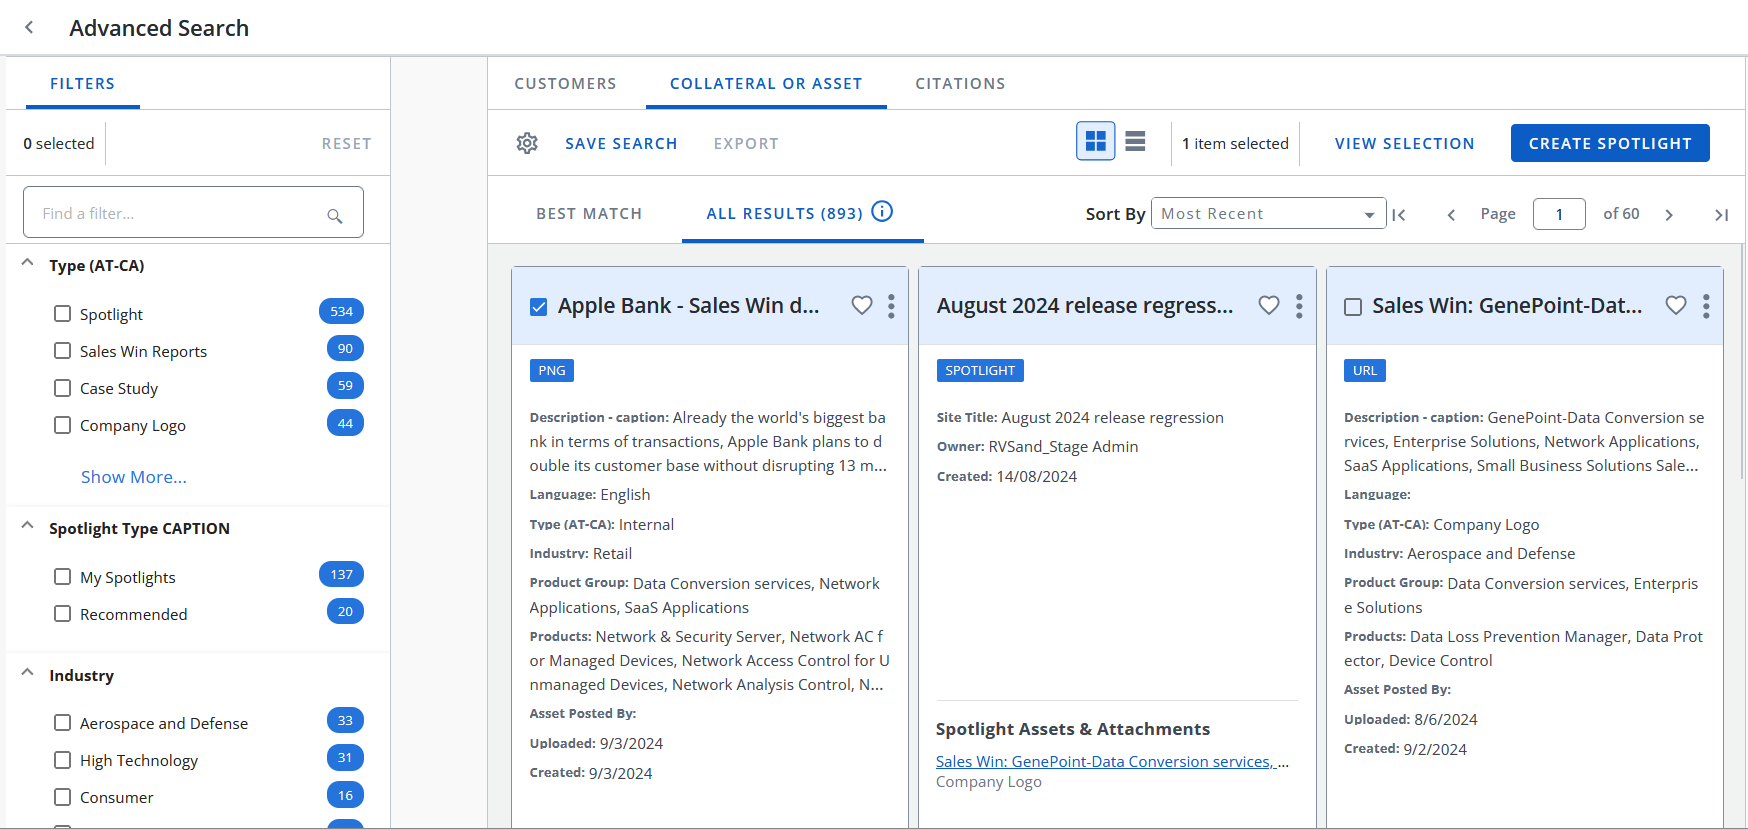
- Once you have completed your search, select the Collateral or Asset tab to view your results.
- To narrow your search results further, select the checkbox of additional filters, such as Asset, Product Group, Industry, etc., from the left-hand panel. Click Reset to clear selected filters.
Note: The filters can be configured within the Screens page by using the "Filters - Collateral - Reference Manager" option from the drop-down menu.
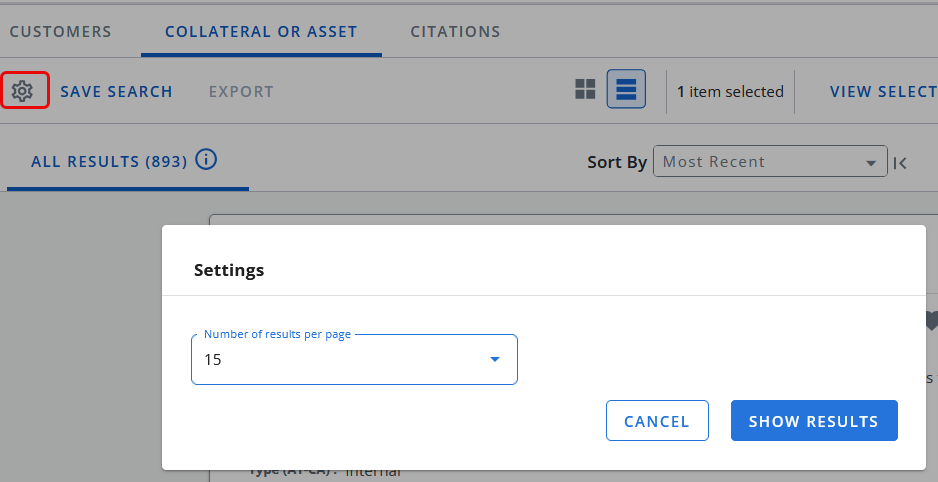
- Click the Settings icon to change how many results display per search results page, using the Number of Results Per Page drop-down menu. Click Show Results to save your preferences. The system will remember your preferences the next time you perform a search.

- Select one of the following sorting options from the Sort By drop-down menu: Favorites, Most Recent, Relevance, or Title. For more information on how "Relevance" sorting works, see Relevant Search: Order of Asset Search Results.
-
To determine the amount of details displayed on the search results page, click the truncated or expanded icons
 . Your selection will be highlighted in blue.

Note:
-
The details that are displayed on the truncated cards can be configured within the Screens page by using the "Search Results - Collateral - Truncated" option from the drop-down menu.
-
The details that are displayed on the expanded view can be configured within the Screens page by using the "Search Results - Collateral - Expanded" option from the drop-down menu.
-
- Once you are finished setting the search results, click Save Search to save your search for future use. For more information, see Saving & Sharing a Search.
- Once you have located your desired search result, perform any of the following actions:
- Click the Heart icon
 to add the asset to your favorites.
 - Click Preview to preview the asset.
- Click Share to share the asset on social media.
- Click Clone to upload a similar piece of content.
- Click Copy Link to share the single assets details with the team.
- Click Edit to make any changes to the current asset.
- Click Send to email the current asset.
Note: The following Assets actions are ONLY available to the reference manager: Favorite, Preview, Share, Clone, Edit, and Send.
- Click the Heart icon
-
Select the checkboxes of one or more assets from your results to enable the View Selection and Create Spotlight button. You can perform the following actions:
- View Selection: Displays the list of all the selected assets or collateral to review before you create a spotlight. If you want to remove any of the assets from the selection, click the delete icon.
- Create Spotlight: Begins the spotlight set up process. For more information on creating or editing Spotlights, see Using Spotlights .
Note: Assets that belong to a spotlight do not include checkboxes.
- View Selection: Displays the list of all the selected assets or collateral to review before you create a spotlight. If you want to remove any of the assets from the selection, click the delete


Relevant Search: Order of Asset Search Results
The following factors will dictate the order in which your asset search results will appear:
- Does the searched keyword appear in?
- Select Configured fields: These are client specific fields configured in the system.
- Title
- Description
- Document Body
- Spotlight Title
- Spotlight Overview
- Document Upload Date: How recently was the content asset record uploaded?
- Document Last Use Date: How recently was the content asset record viewed or used?
- Best Match Threshold (e.g. Keyword Search and Non-Keyword Search)
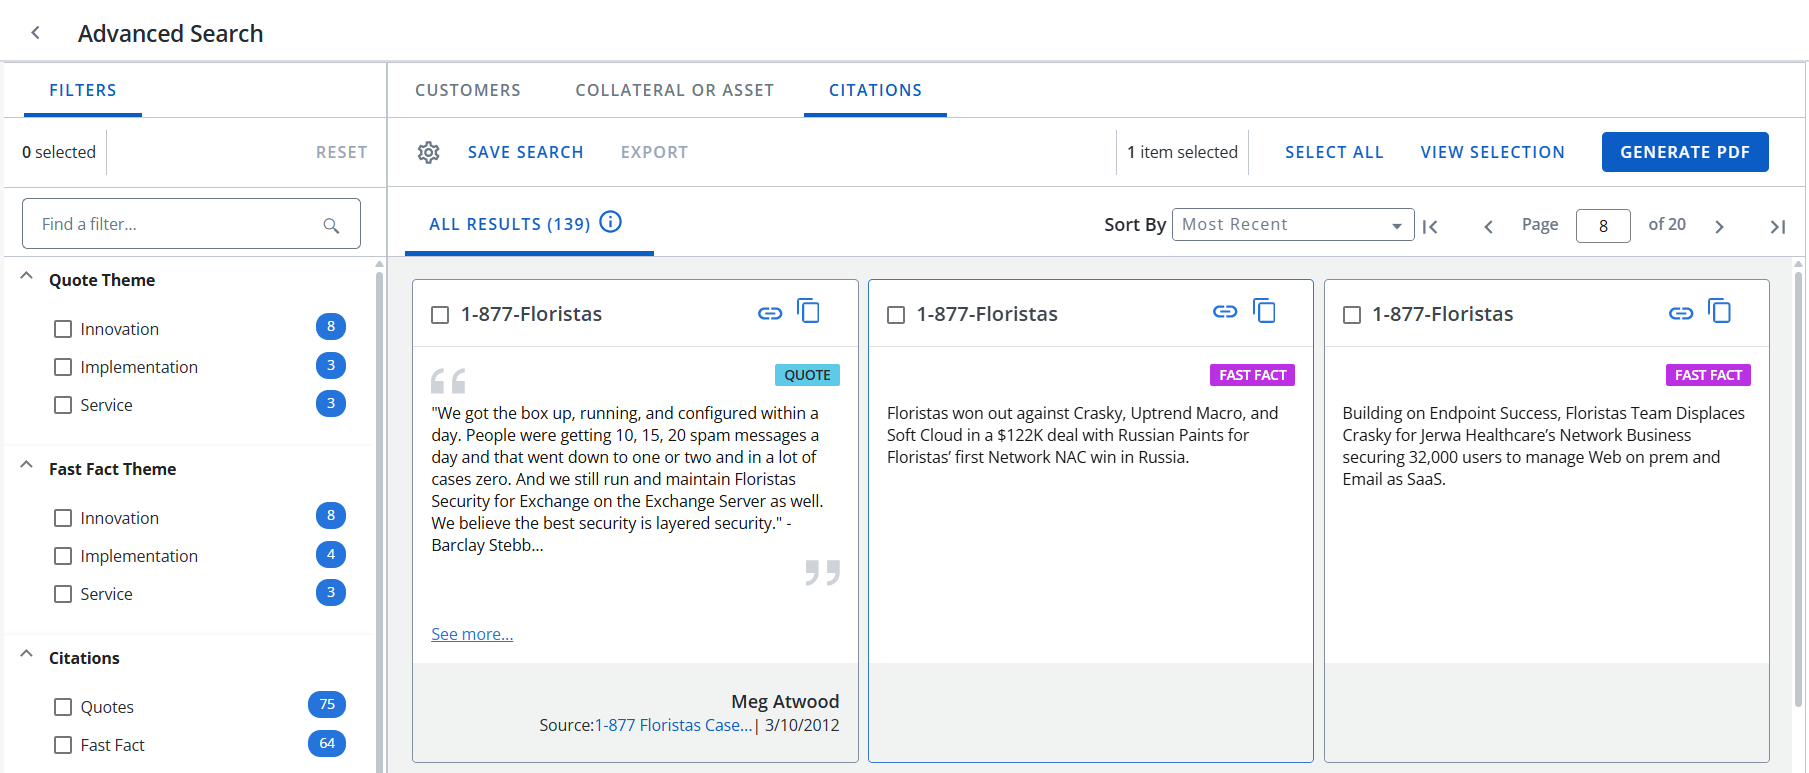
- Once you have completed your search, select the Citations tab to view your results.
- To narrow your search results further, select the checkbox of additional filters, such as Citations, Quotes, Fast Facts Theme, etc., from the left-hand column. Click Reset to clear selected filters.
Note: The filters can be configured within the Screens page by using the "Filters - Citations" option from the drop-down menu.
- Click the Settings icon to change how many results display per search results page, using the Number of Results Per Page drop-down menu. Click Show Results to save your preferences. The system will remember your preferences the next time you perform a search.

- Select one of the following sorting options from the Sort By drop-down menu: Most Recent or Customer Name.
- Once you are finished setting the search results, click Save Search to save your search for future use. For more information, see Saving & Sharing a Search.
- Once you have located your desired search result, perform any of the following actions:
- Click Copy icon
 to copy the text to your clipboard.
 - Click Link icon
 to share the single citation details with the team.
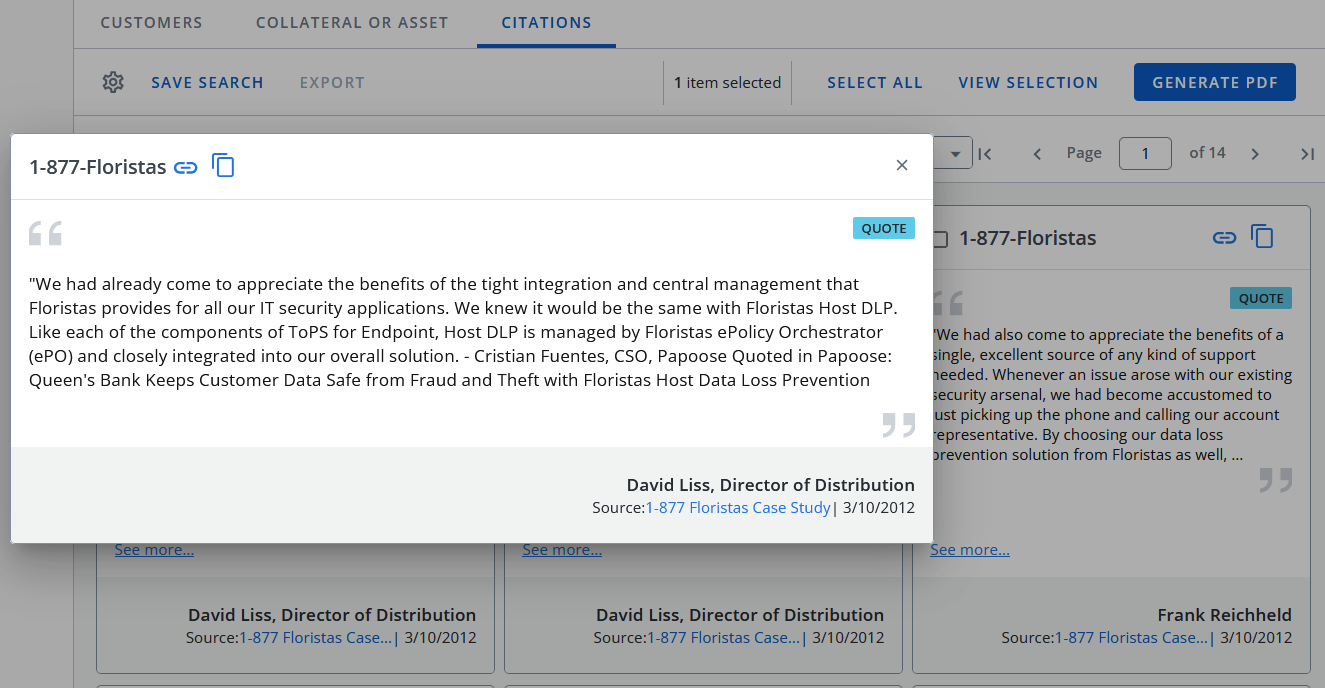
 - Click See More to open the pop-up modal displaying the full content.

Note: Each citation card will indicate whether it is a Quote or a Fast Fact.
- Click Copy icon
-
Select the checkboxes of one or more citations or click Select All from your results to enable the View Selection and Generate PDF button. You can perform the following actions:
- View Selection: Displays the list of all the selected citations to review before you generate a request. If you want to remove any of the citations from the selection, click the delete icon.
- Generate PDF: Produces a branded PDF.
- View Selection: Displays the list of all the selected citations to review before you generate a request. If you want to remove any of the citations from the selection, click the delete

Saving & Sharing a Search
- Once you have completed your search and viewed your results, click Save Search.
- Complete the required fields and select the desired user roles from the Recommend Search To These User Roles drop-down menu to provide access to this saved search.
- Click Save.
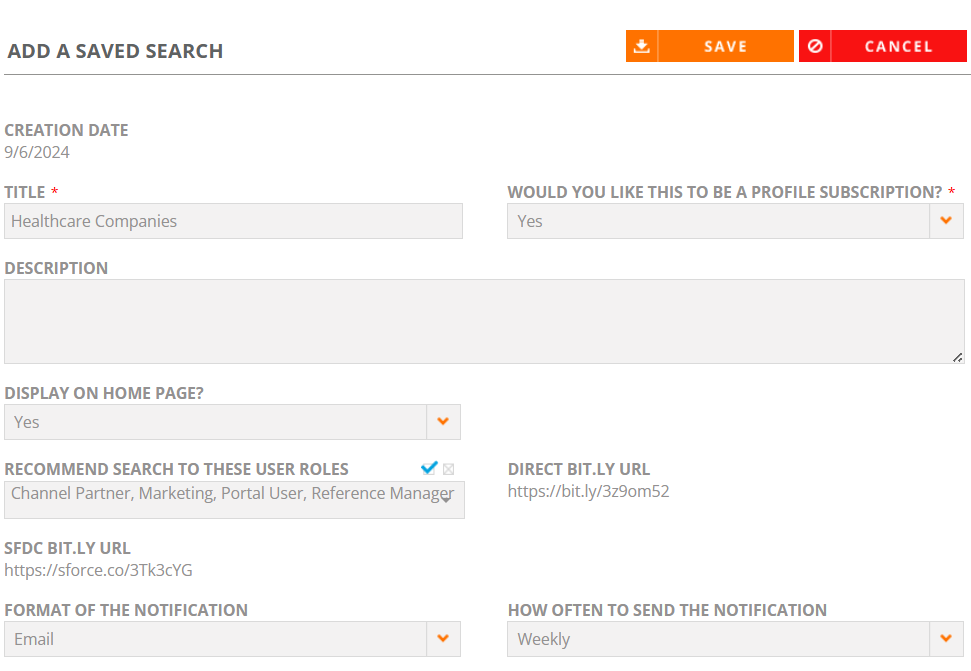
Note: Reference Managers and Admins can share saved searches by recommending them to certain User Roles. For example, the next time a Sales User logs into RO, they will see the Recommended Search that their Reference Manager has shared with them.